Laminar Flow Hood Project
Introduction, Theory, and Purpose
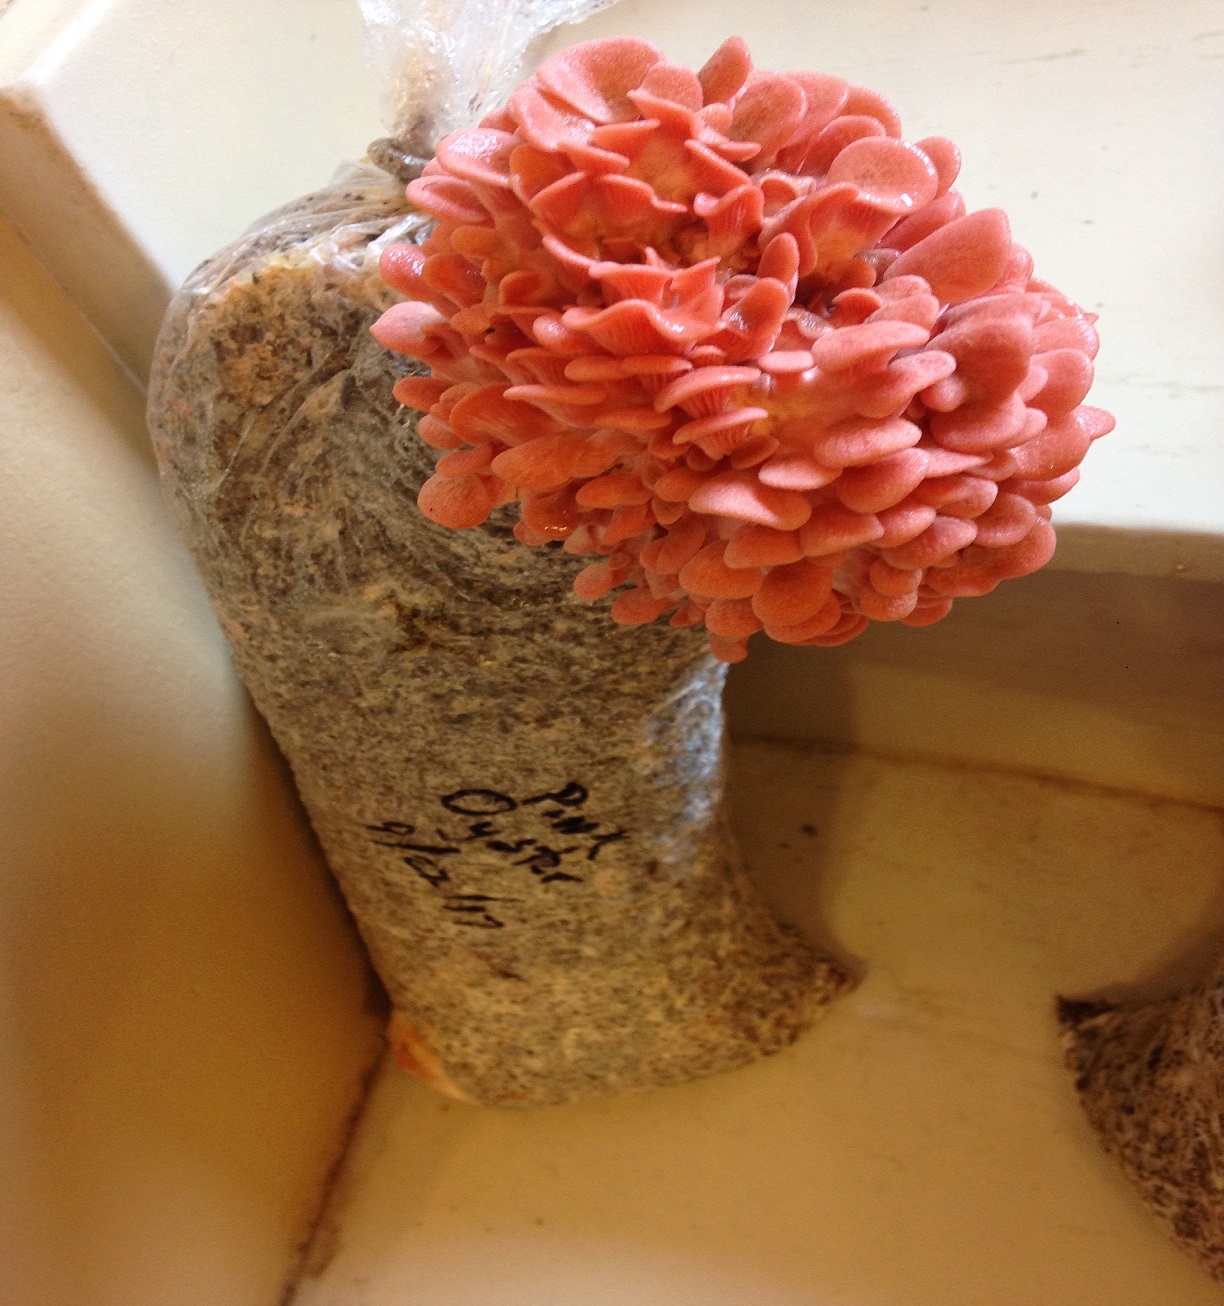
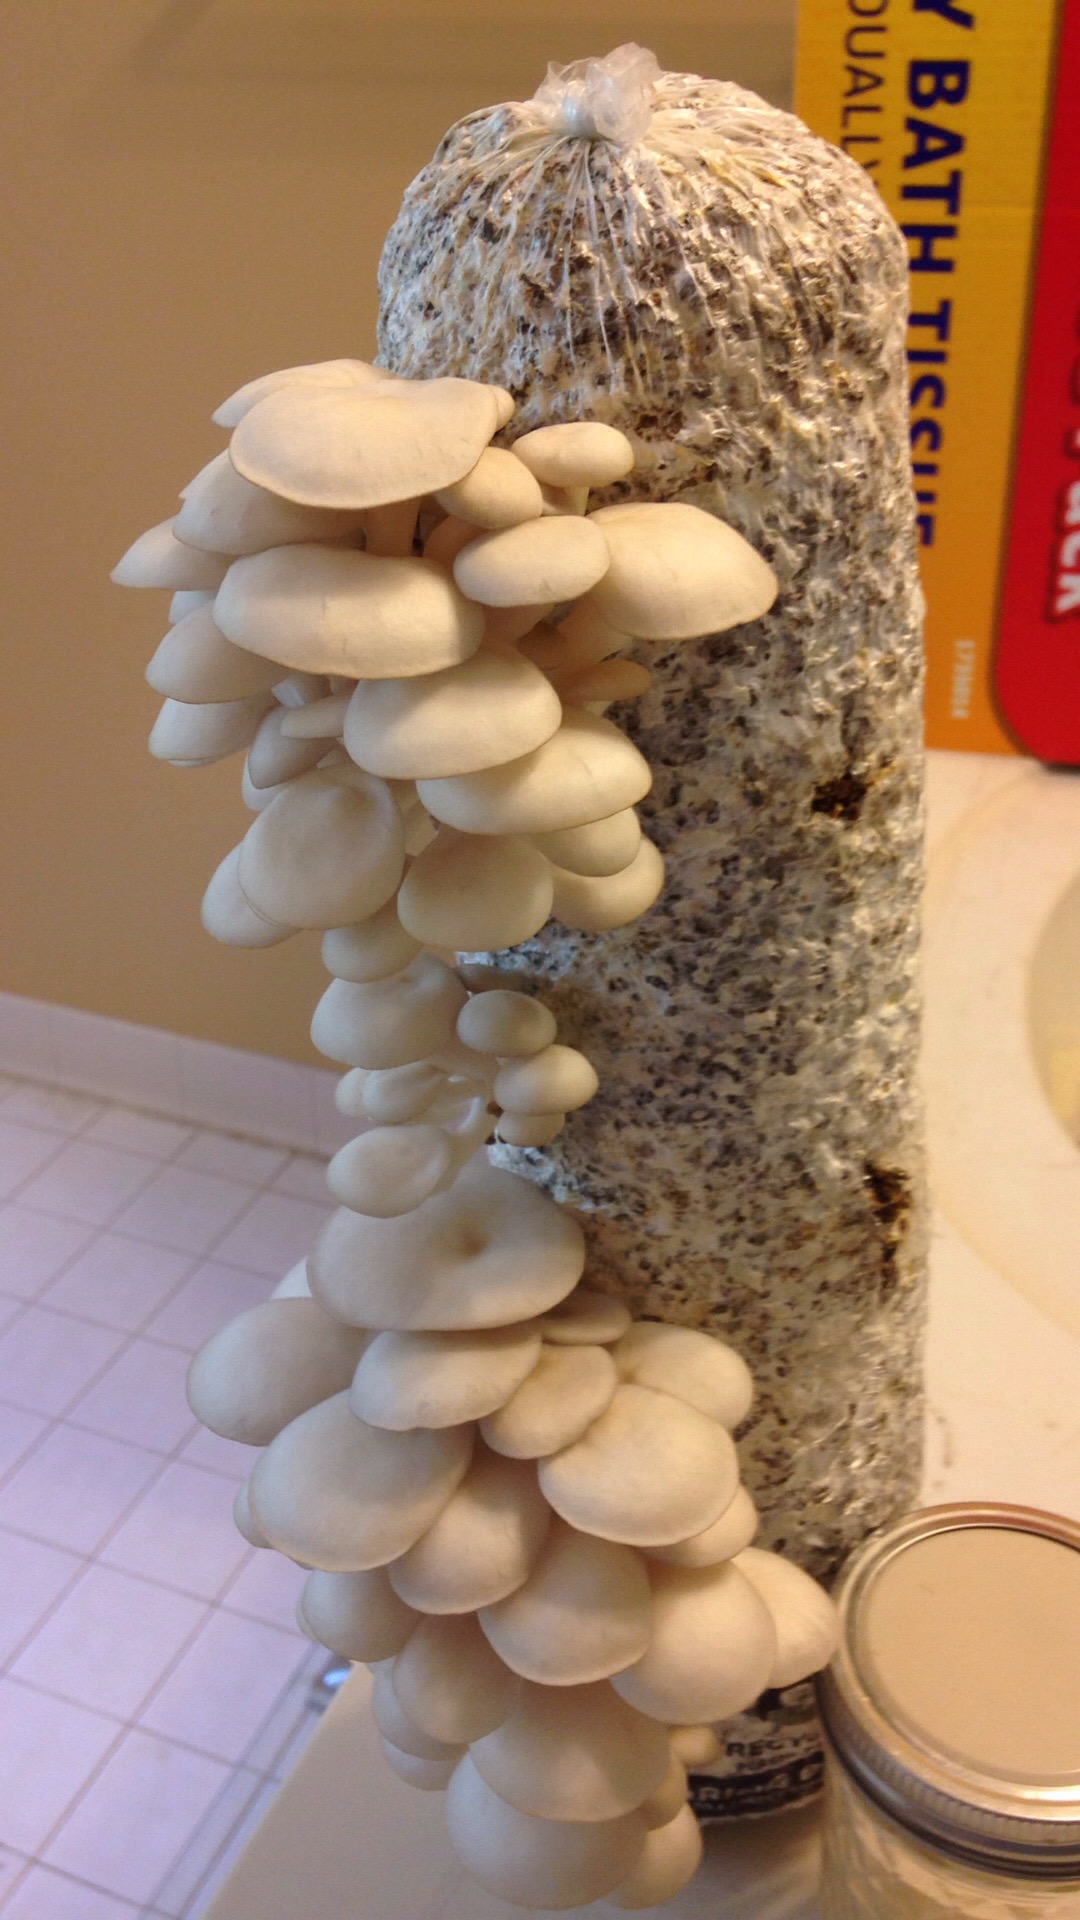
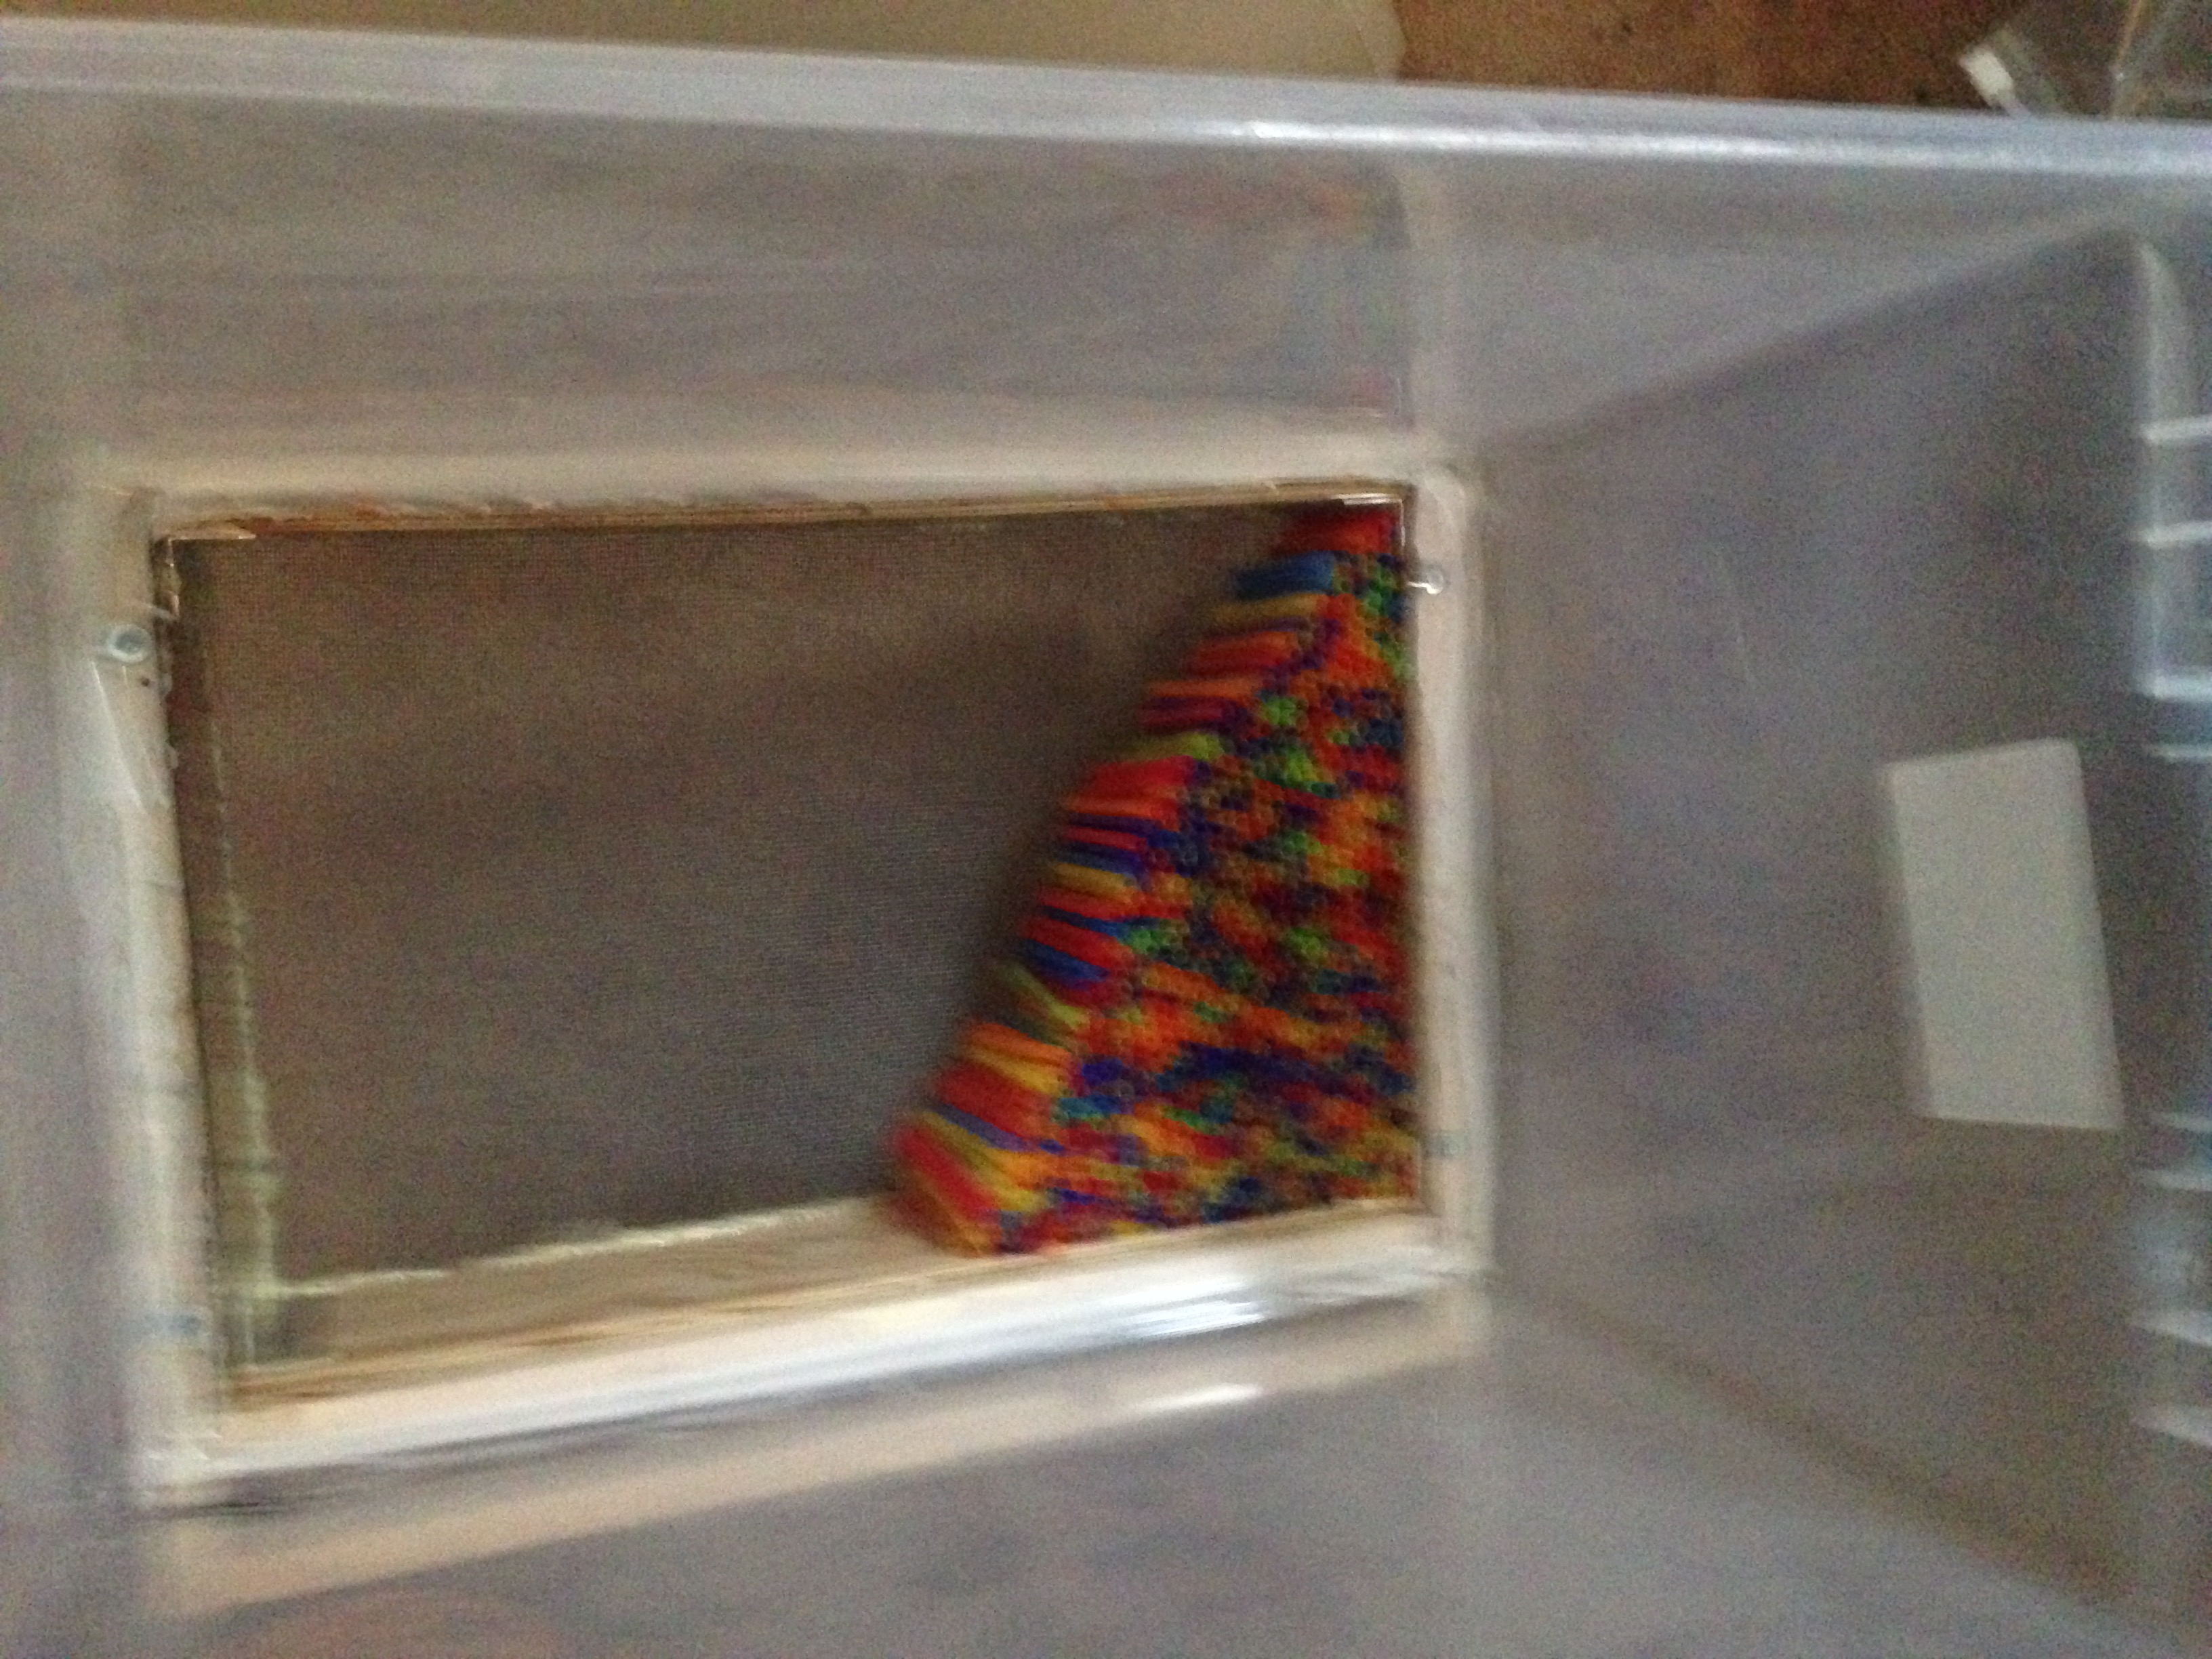
I like to grow mushrooms. Typically when you grow mushrooms, you send off for plugs or mushroom spawn to be used to start a culture that, with luck, results in delicious mushrooms. The pictures to the right are of regular oyster mushrooms (Pleurotus ostreatus) and pink oyster mushrooms (Pleurotus djamor) growing in my bathroom.
While I find growing mushrooms a lot of fun, I don't like shelling out ~$20 per bag of spawn. I liked the idea of growing my own spawn. The problem is this starts to get into microbiological culturing, requiring more sterile conditions than my kitchen or bathroom can normally provide.
That is where the laminar flow hood comes in. While you might be able to do some bacteriology without one, fungal spores are ubiquitous in our environment. I can open the lid of a plate of fungal growth media for 10 seconds and a week later there will be a number of different fungal colonies growing on there. Creating a hood that runs the air through a HEPA filter is really good at creating a place with spore free air.
That said, it's not quite a simple as that. If I just forced air through a HEPA filter, into a plastic covered environment, there would be turbulence, allowing regular air to sneak into the "hood" area without going through the filter. This is where laminar flow comes in. In this usage, laminar flow just means all the air is going in the same direction and speed with no turbulance. This is something they do in faucets to keep the water from spewing out. If you've been in a very old house, the faucets didn't have these and the water tended to spray slightly. It's also used in fire hose nozzles to make the water travel straight without much breaking up, prior to getting to the fire.
Normally when a fluid, such as air, travels through something - say a tube or conduit, the air near the walls travels slower than the air in the middle, which causes turbulence when the fluid exits the conduit. A solution to this is a collimator*. This forces the fluid to travel in a column and all at the same speed. To do this, a simple way is to force the fluid through a bunch of parrellel tubes. Fluid mechanics states the smaller the tube, the more laminar the flow. Also, the air closest to the walls of the tubes may go a little slower, the tube's 'mini' turbulances are all cancelled out as the air emerges, with the fluid all travelling in the same direction and speed with little turbulance.
Once the air, having gone through the HEPA filter, travels through the collimator, it enters the hood area all going in one direction and at the same speed, so work can be done in the hood without air eddies bringing contaminated air back into the sterile field.
My use of the term collimator is not accurate. I am borrowing a term from radiation physics, but the principle is the same.
Raw Materials
The materials I used for this were fairly simple
- Small box fan - I used a small, 9 inch, frameless Black and Decker fan that didn't cost much.
- HEPA filter - I picked up a small 12.5 x 16" HEPA filter for reasonable price on EBay.
- HVAC filters - I got light and medium weight 16 x 20" air filters. These are the kind you put in your central heating and AC unit. These I primarily used these as a low cost way to reduce the dust load on the HEPA filter. HEPA filters are a lot more expensive.
- Scrap wood - Much of the framing wood came from a wooden pallet I deconstructed, then shaped the boards on a table saw.
- Thin plywood - This stuff was pretty thin, 2.77mm, on the order of Luan. Without the frame, it wouldn't have had any structural integrity.
- 1300 Plastic straws - Yep, kids plastic drinking straws. These had to be cut into 3 1/4 inch lengths and have the bendy part discarded.
- Sterilite Latching 64 Qt. Storage Bin w/ lid - From Home Depot
- Foam Padding -I bought the foam padding, the kind that goes under a fitted sheet on a bed. This was used to help seal the lid and the covering to the hood zone.
- Small gate hinges - These would be used on a small gate.
- Window screen - Nylon window screen used as replacement for torn window screens.
- Miscellanous wood working stuff - Glue, small nails, screws, etc.
Procedure
Steps:|
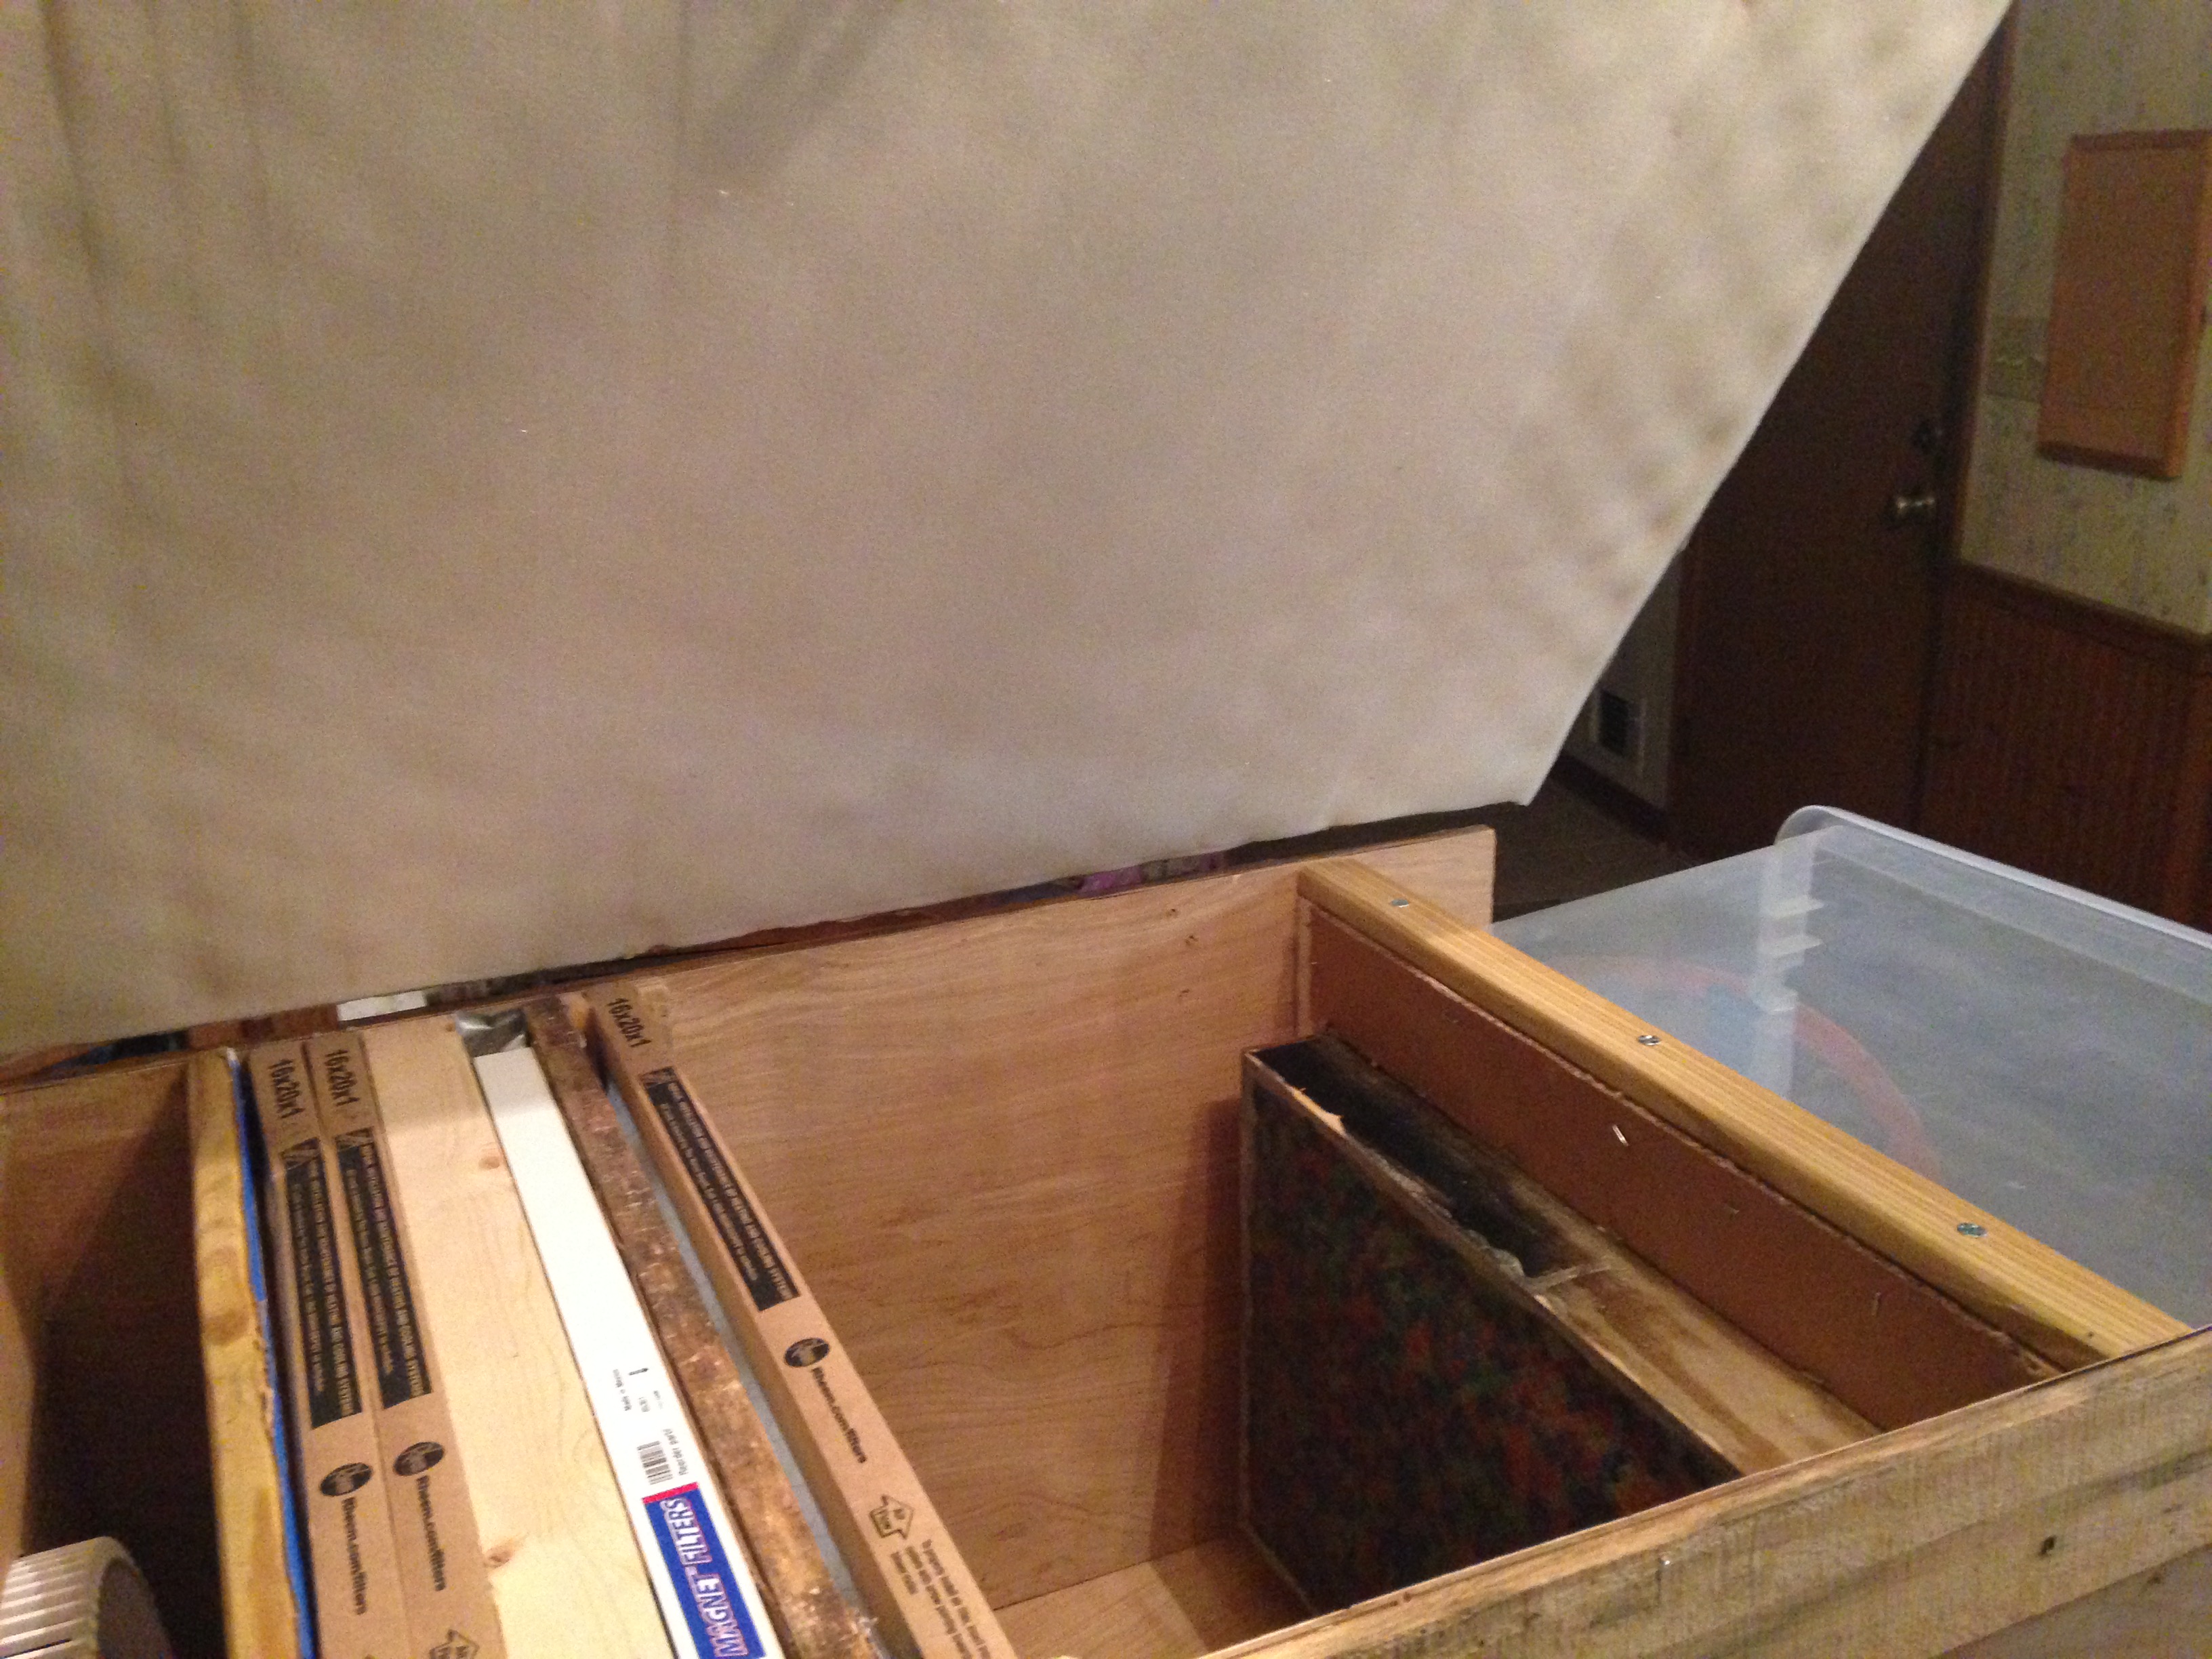
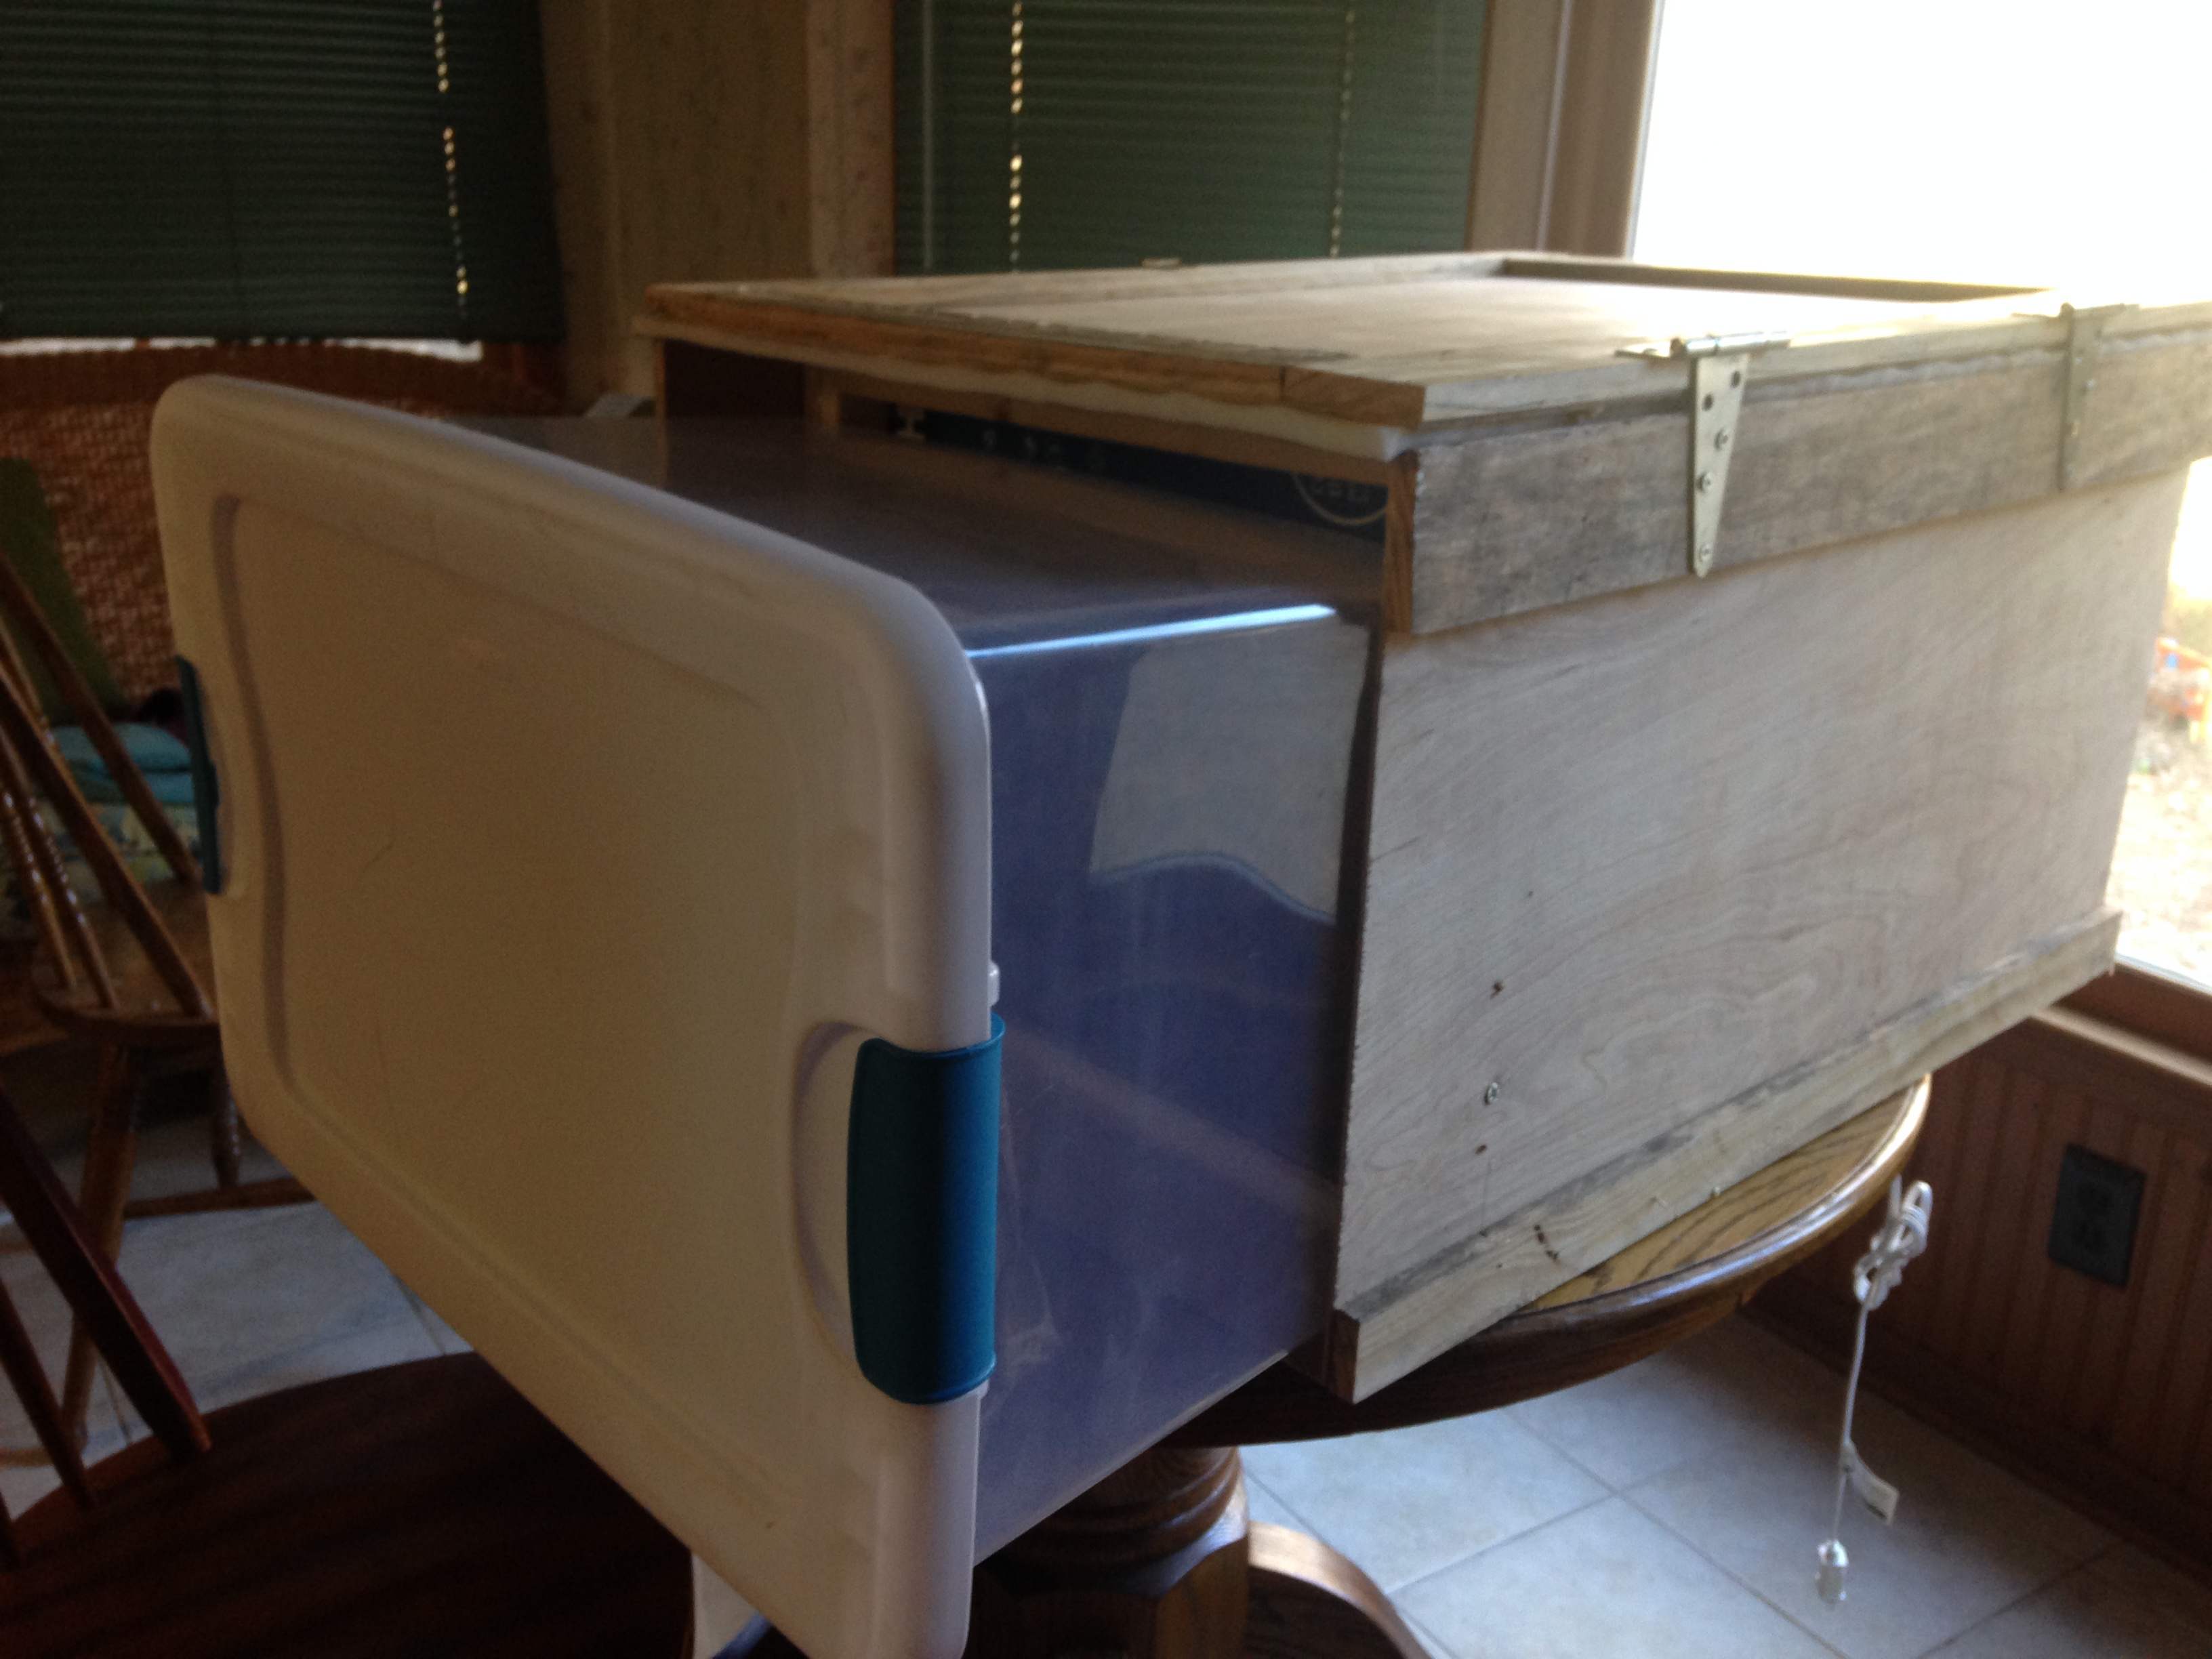
1. Once the materials had been obtained and the design worked out, I constructed rectangles out of 1/2" wood, to form both part of the frame of the cabinet and the guides for the filters to slide into place. They were of the dimensions of the filters. 2. Then long rectangular sections of the thin plywood could be tacked and nailed to these frames to make a cabinet forming the air conduit. The internal cross-sectional dimensions of this was 16x20 inches, perfect for fitting the air filters into. 3. A circle was cut out from a small 16x20 inch piece of plywood, just the size to fit the fan into. The fan was bolted to the plywood with small machine screws. It was then attached to the back end of the box. 4. I successively added 16x20 inch frames, creating slots I could slid the filters into. I had the first filter, closest to the fan, to be the cheapest, then a higher grade filter, then a small space and a special frame (given the differing size) for the HEPA filter. Each section needed to be sealed using caulk or duct tape to ensure there was no air path around each filter. I added a low grade filter, with a small air gap, between the HEPA filter and the collimator. This spread the air out so that the momentum of the air wouldn't hit in the middle of the collimator and defeat the goal of a even column of air exiting the collimator, all going the same speed. 5. The last two components of this were the collimator and the "hood" (plastic bin). I build a rectangle of 1/4 inch plywood, 3 1/4 inches deep by 17x11 inches (internal dimensions) so it could match up with the bottom of the bin. Then a frame was built in the cabinet section so the rectangular collimator could slid in, once finished. 6. I glued a properly sized section of screen to one side of the "collimator" box, then attached it to the bottom of the plastic bin with 1/8 inch bolts, screen side away from the bin. 7. Then the task of cutting 3.25 inch sections of plastic straws began. Each straw yeilds 2 pieces. 2600 plastic straw sections later, I was able to put these straws, all pointing through the collimator box, in place. A properly sized piece of screen was then glued over the straws to keep them in place. Collimator viewed from within cabinet 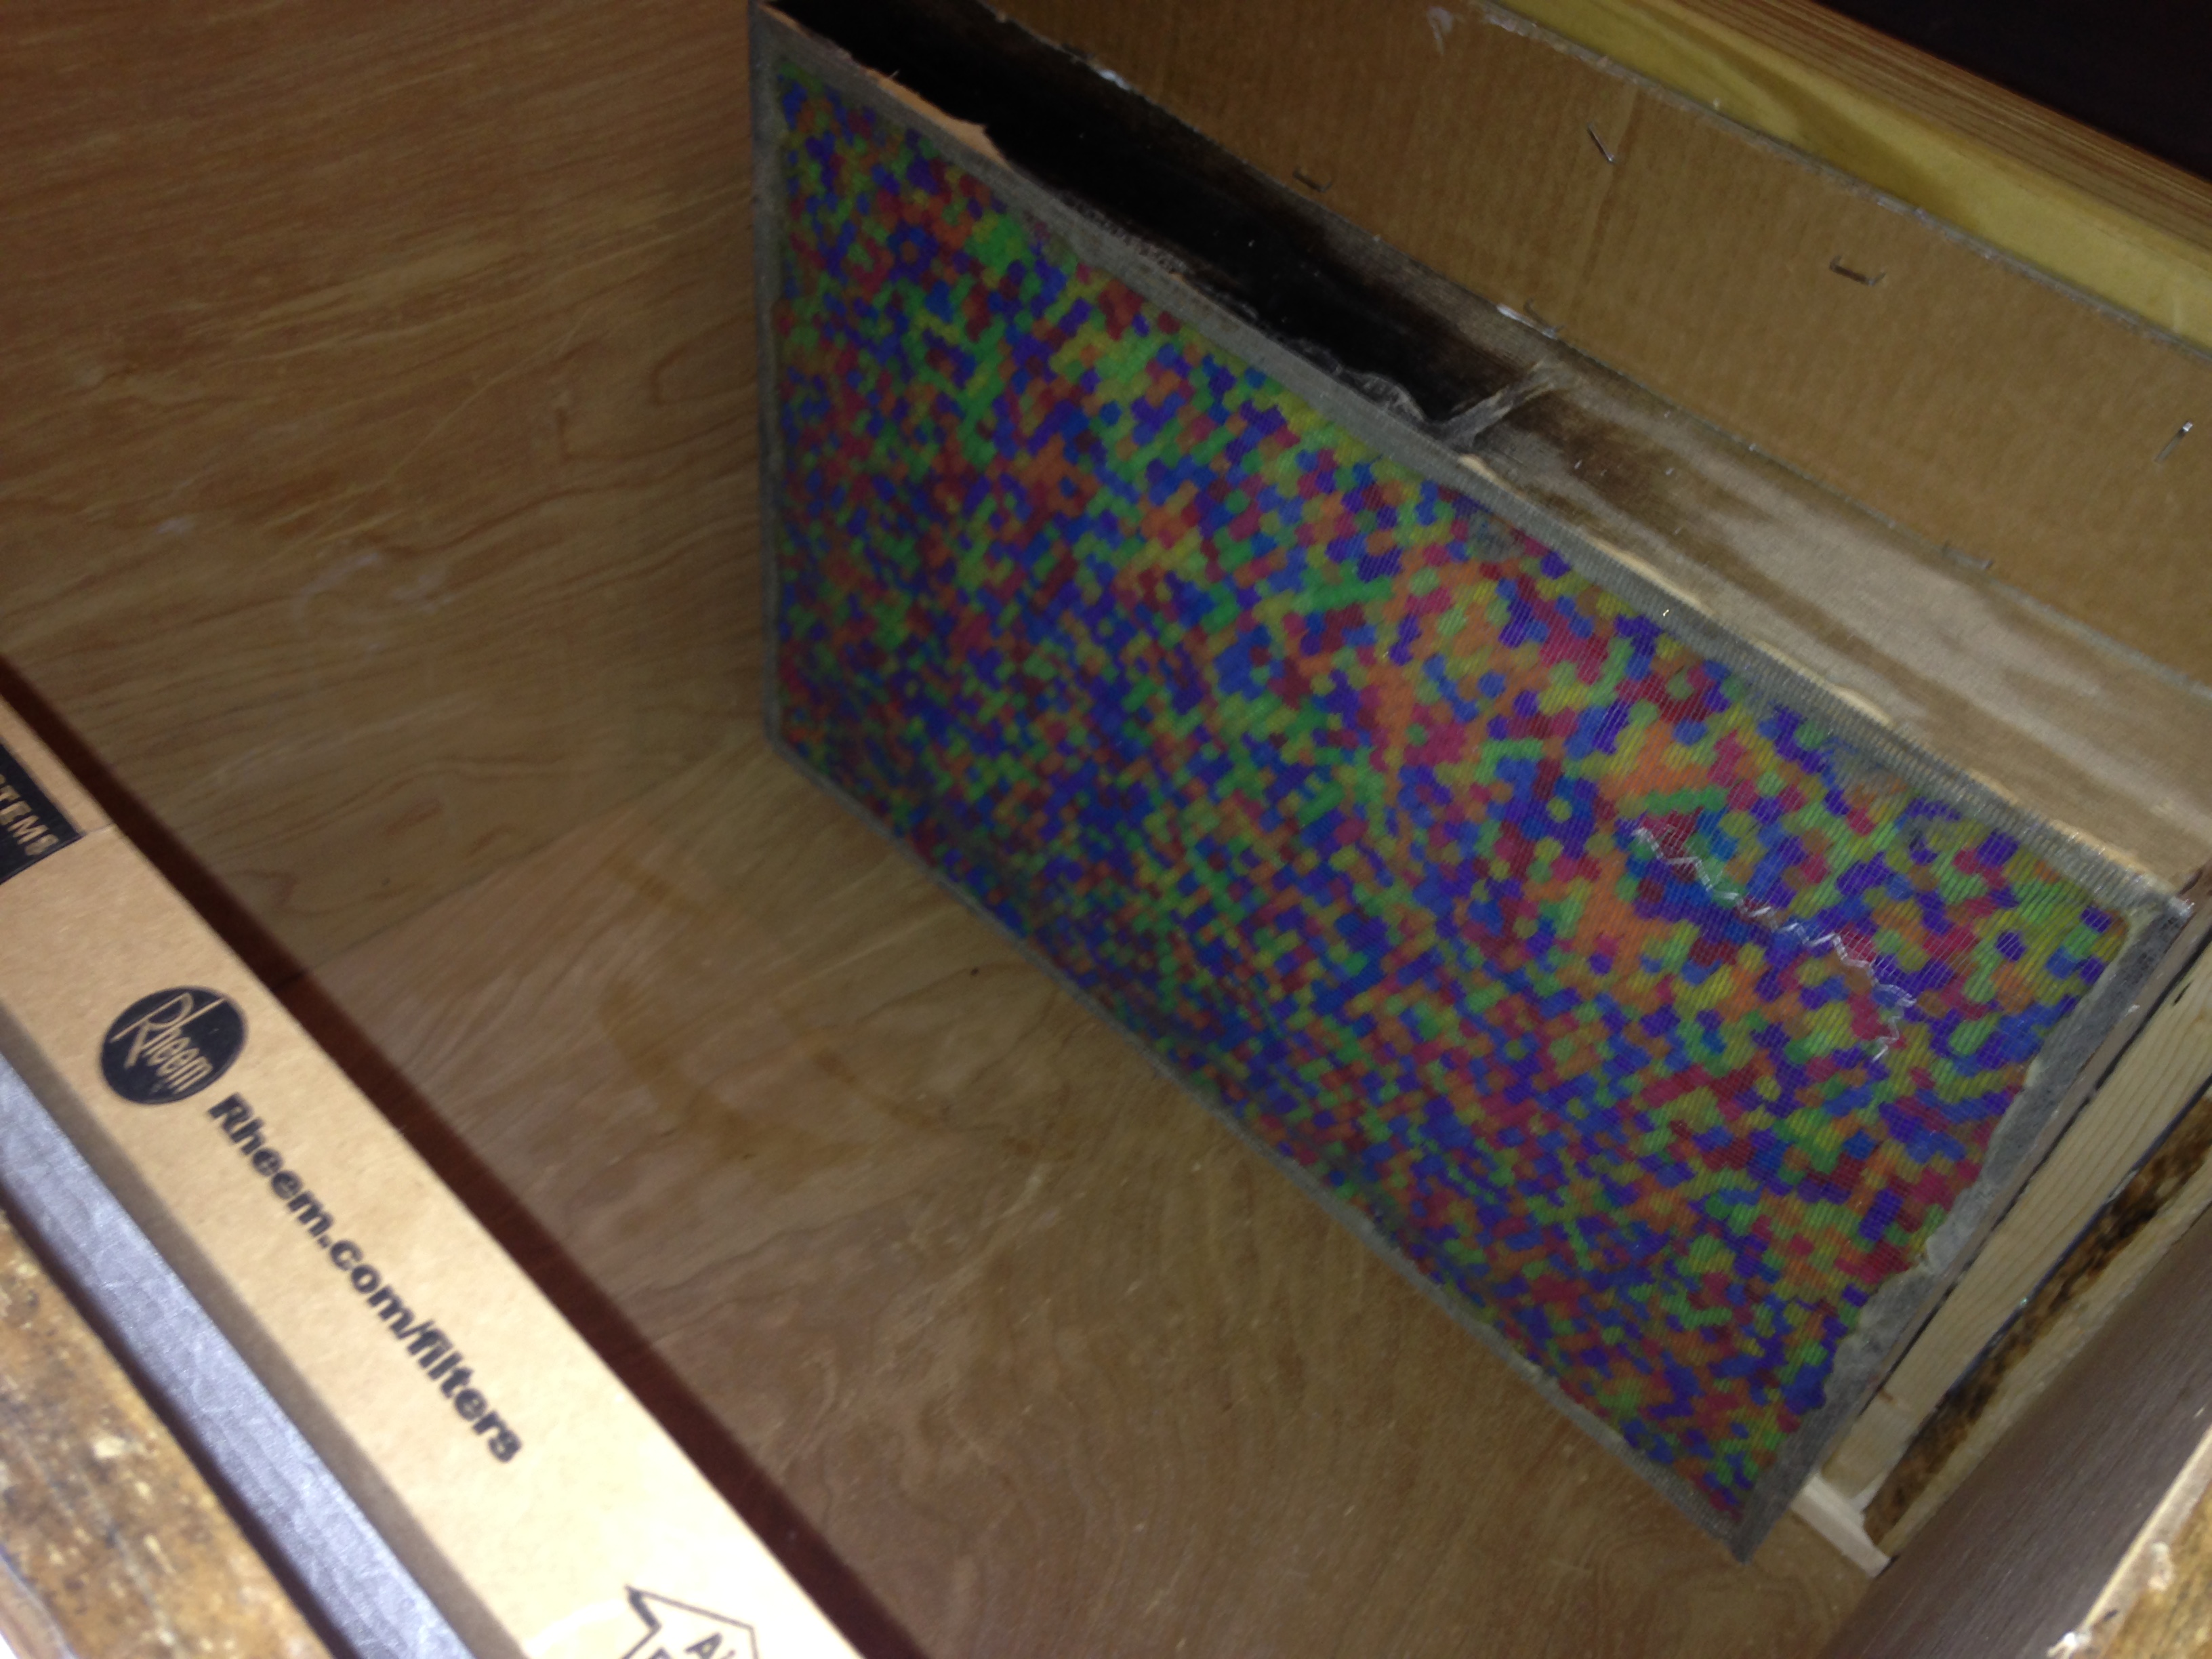 8. Collimator and bin then slide into the frame at the end of the cabinet. I affixed it in place with wood screws, which could be removed if I needed to slide it out. 9. Next was the cabinet lid. First I glued the foam padding to the inside surface, all the way to the edge so it would seal against air loss. Once the glue was dry, I attached the hinges and a small latch. 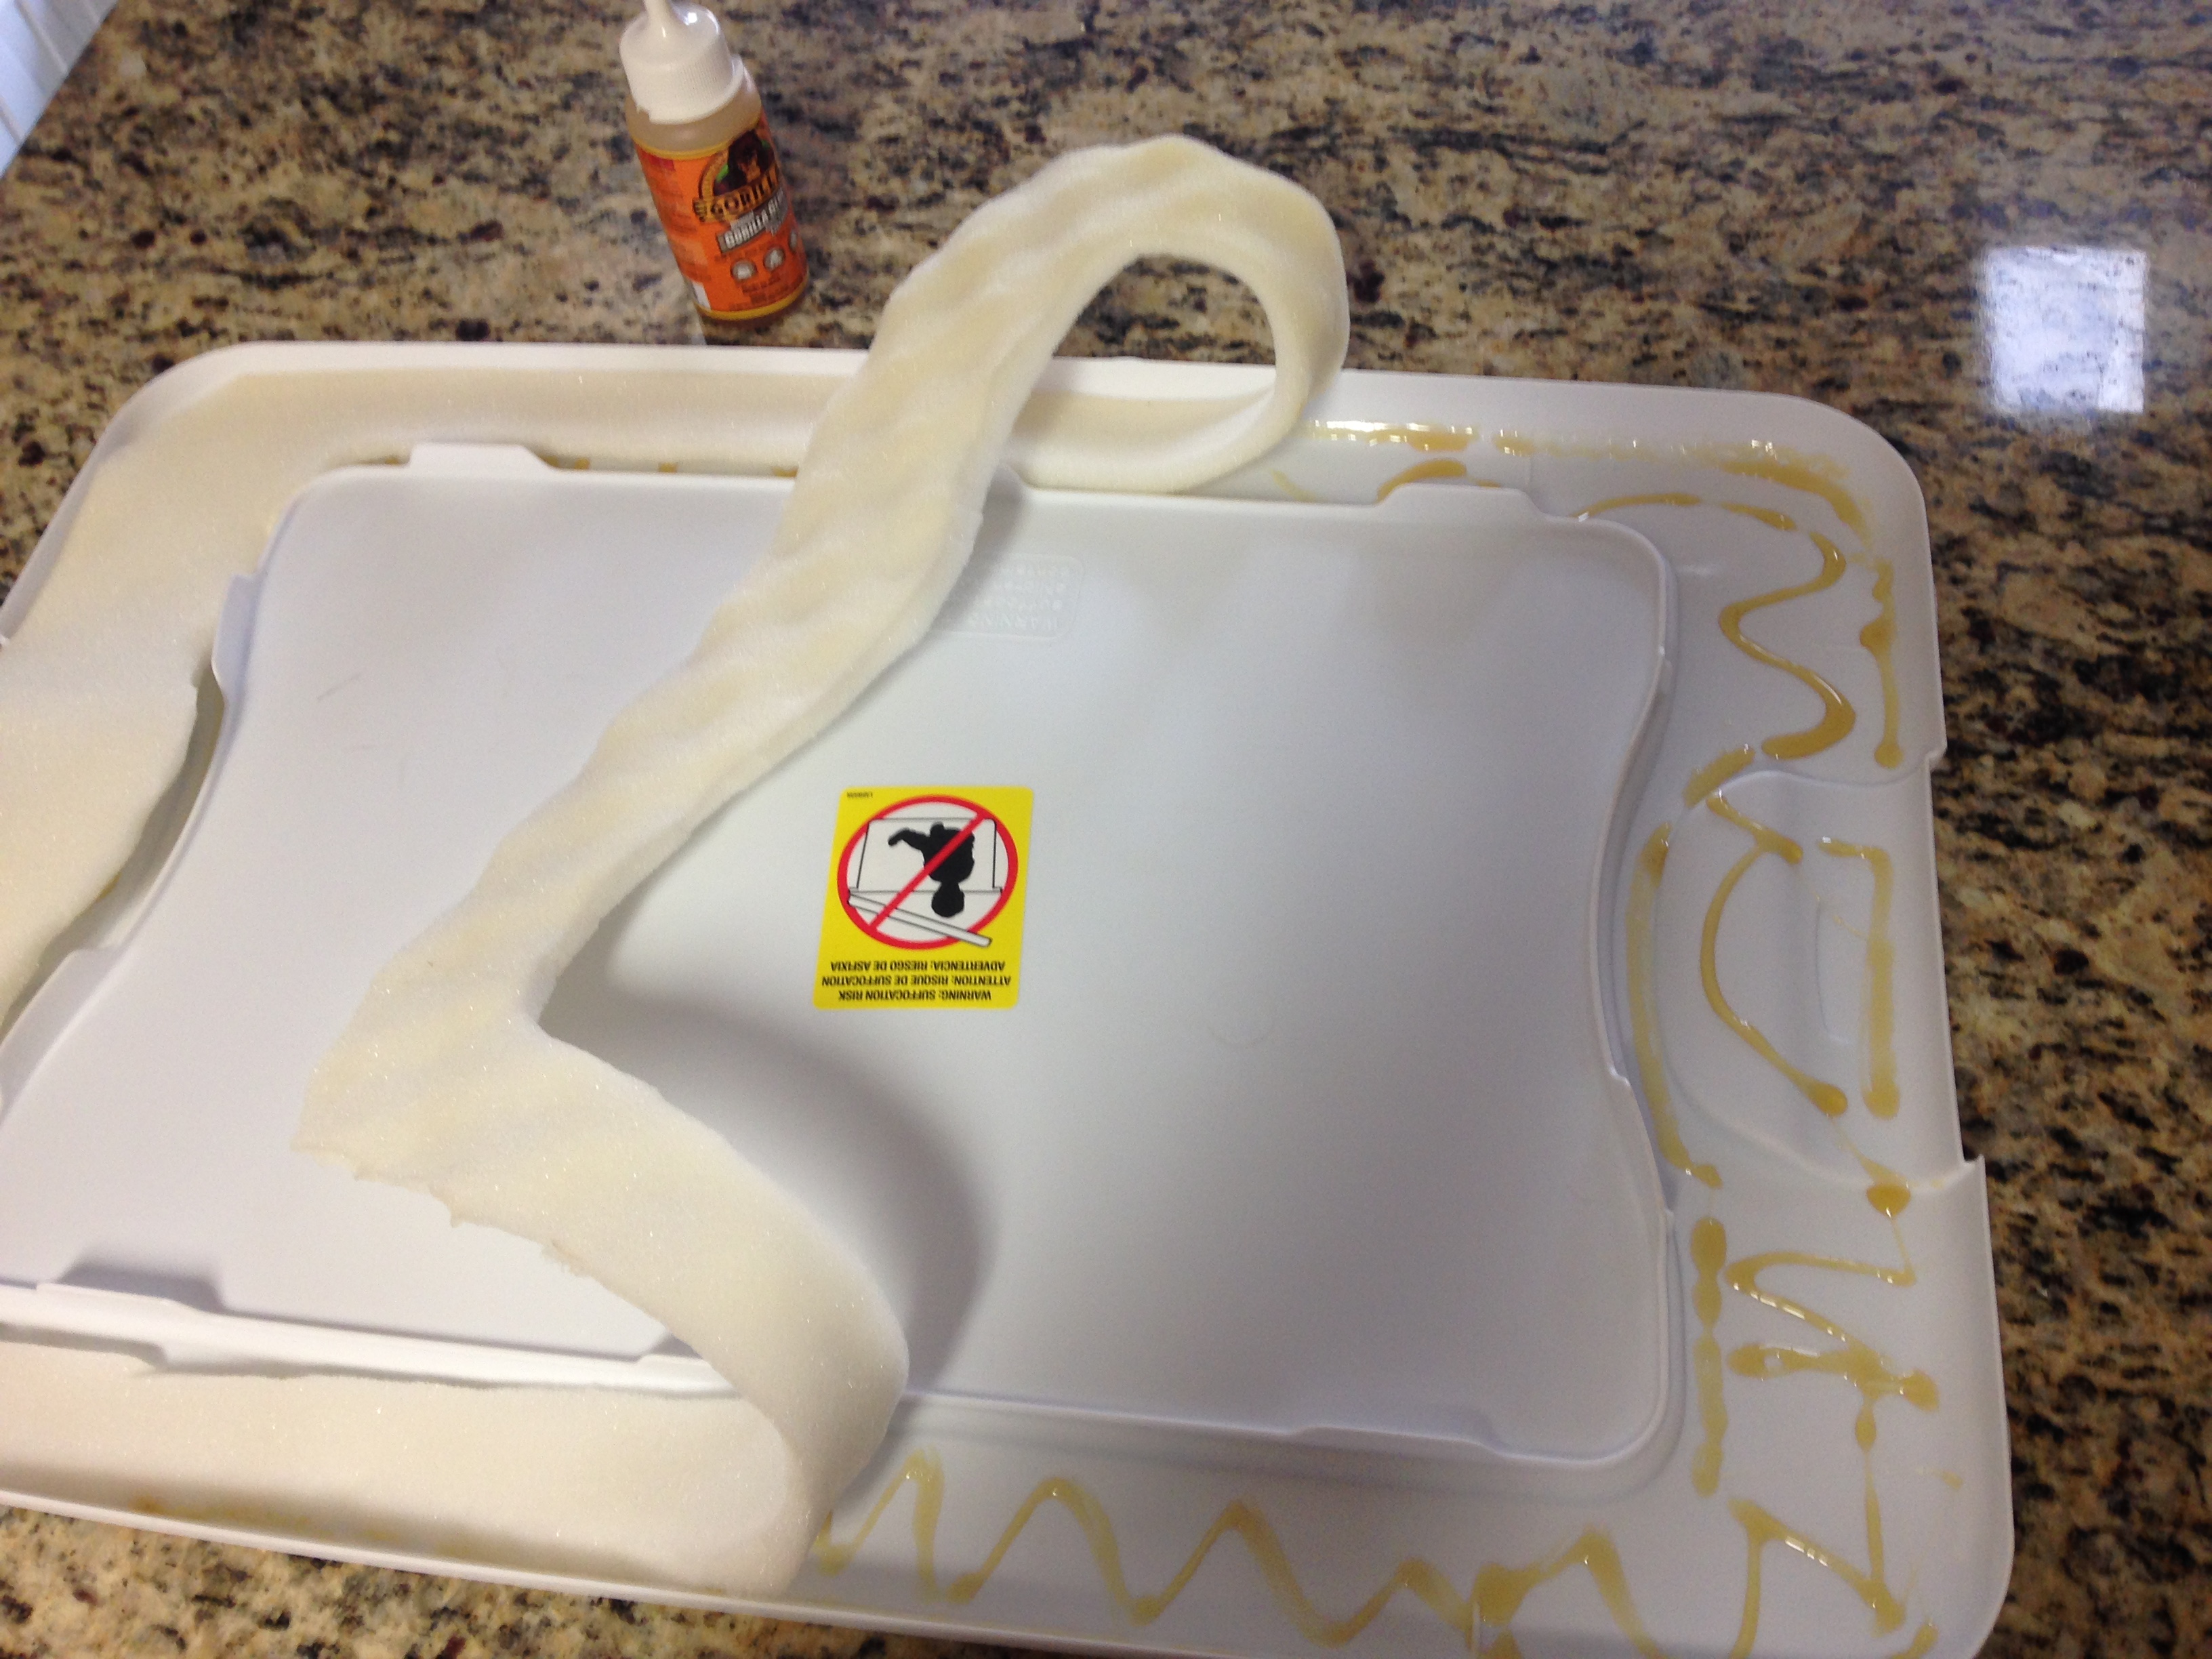 10. The last step was cutting and attaching foam to the inside of the hood cover. This step isn't required but keeps dust out of the hood, when not in use. 11. Finally, you should test the cabinet. Turn on the fan with the cabinet lid closed, checking for air leaks which would reduce the efficiency of the hood. Second, get a small candle and place it in the running hood. Blow out the candle and observe the smoke to ensure it flows straight out of the hood, from all locations inside the hood. Finished ProductThis finished hood should be cleaned out before first use. Vacuum out dust then wipe down with alcohol or diluted bleach solution. After extended use, the filters will need changing. If you use multiple filters, then the cheaper outer filter should be changed more often to keep from having to change the more expensive HEPA filter very often. The hood area should be wiped down with dilute bleach or alcohol prior to each use and the cover kept on between use. |